
How to make a simple porch in Garden Planner
In this tutorial I will make a very simple porch in Garden Planner.

Starting with a blank plan the first step is to click on the tools tab to switch to the drawing tools and to select the Paving & decking tool.
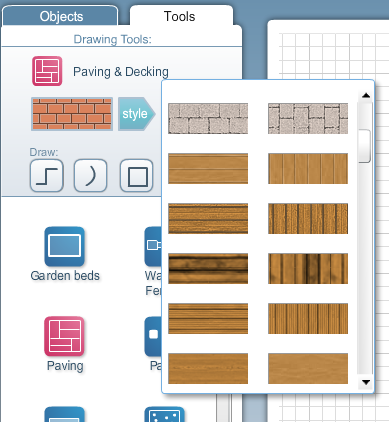
Select the appropriate material for your porch. In this case I will pick a timber style.
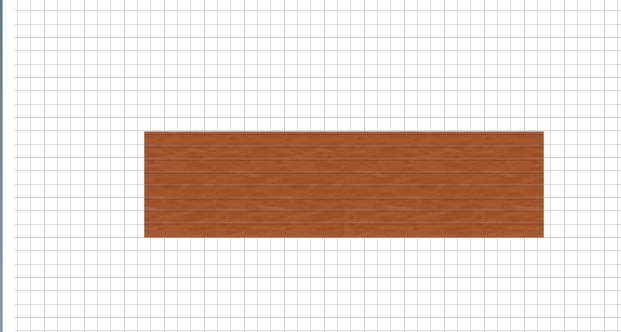
And then using either the straight line tool or the square shape tool, draw out the porch.
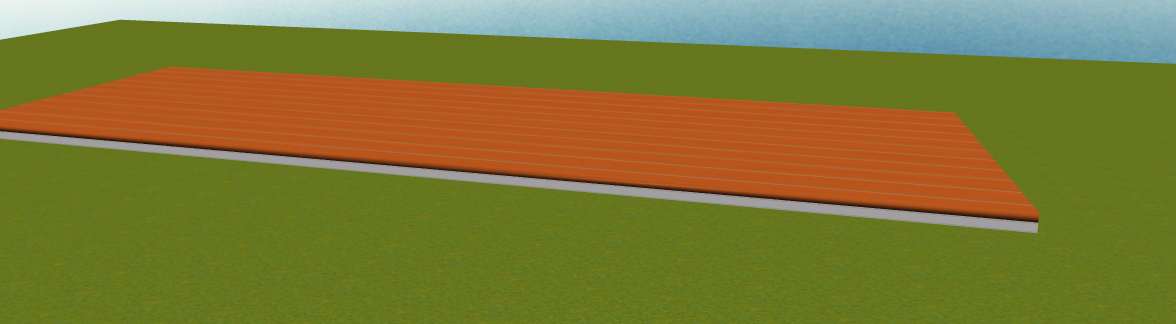
If you switch to 3d view it will look like this. Not all that interesting yet.
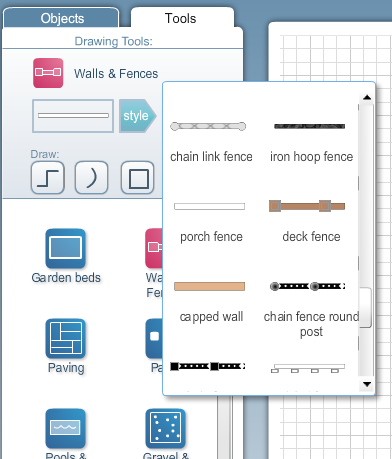
Let's add in the fence. Select the walls and fences tool and pick an appropriate fence style. In this example I will use the porch fence style.
Then using the straight line option draw out the porch fences. Remember to draw, click once to start, click again to add a corner and double click to end.
Make sure the fence sit on the timber deck.
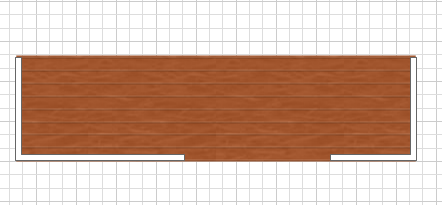
In the 3d view it will look like this.

You can adjust the style in the 3d view if you wish.
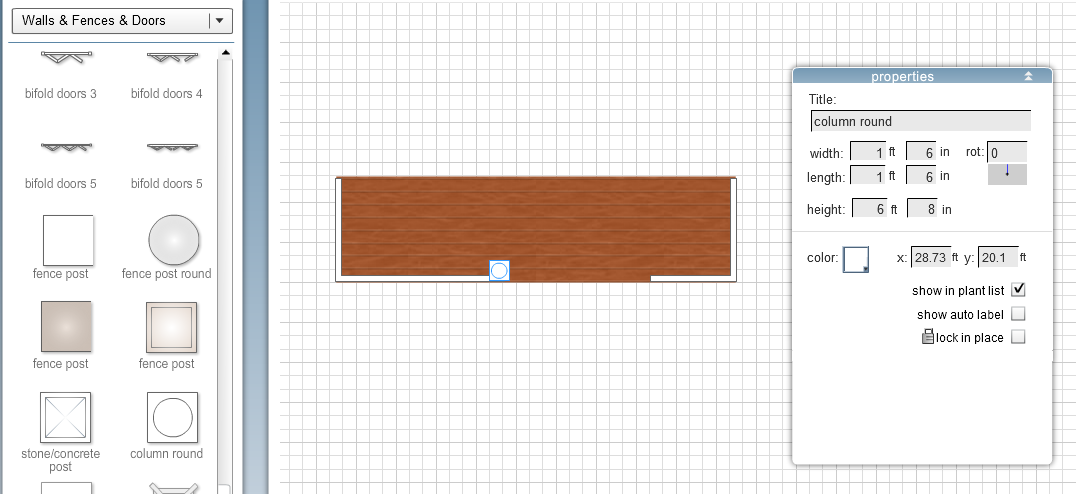
Great, now we need some posts.
Click on the Objects tab and select the Walls & fences & doors category.About halfway down the list you will find some posts.
I am going to use the column round post, which is a round column with a square base. I will add one to my porch and then adjust the height so it is 6 feet 8 inches.
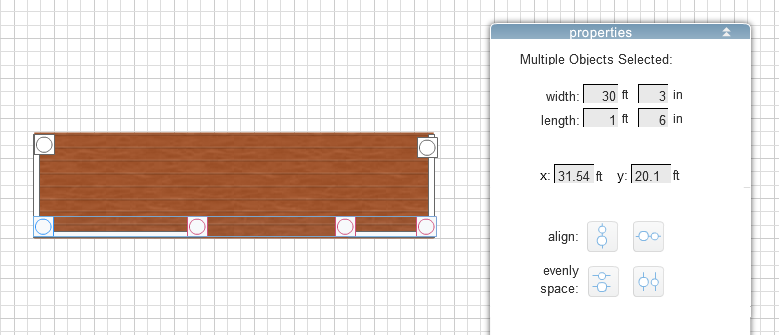
I can then use the duplicate button to make more copies of this post and place them accordingly.
If want to get them aligned correctly I can select multiple columns and then use the align option in the properties window.
Now I just need a roof. Switch to the buildings category and drag the roof section slate onto the top of the porch. I have adjusted the size of the roof to match my porch
dimensions, which is 30ft wide.
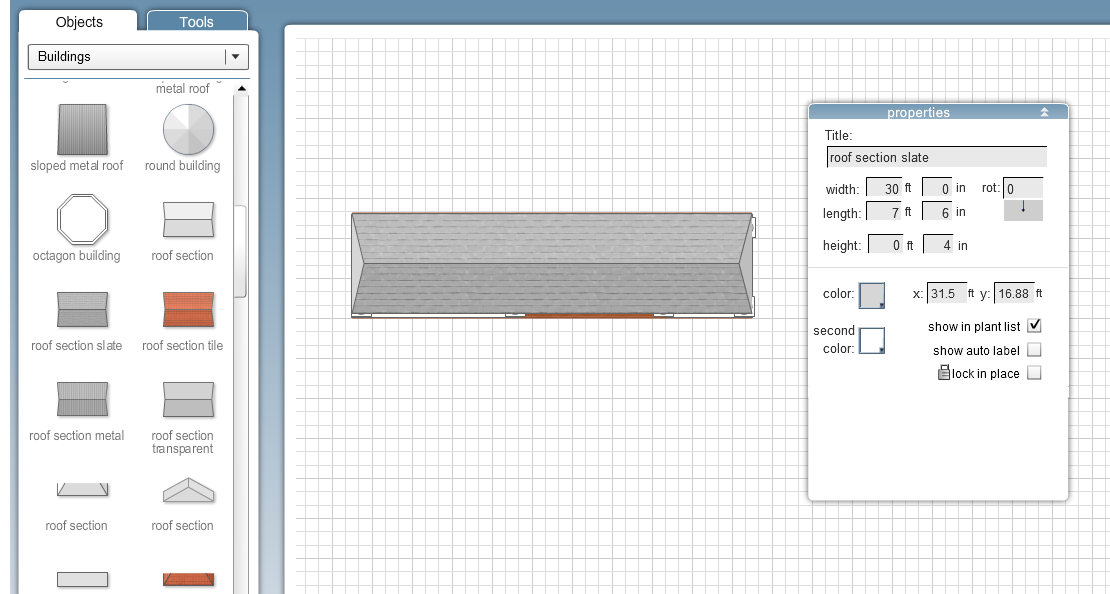
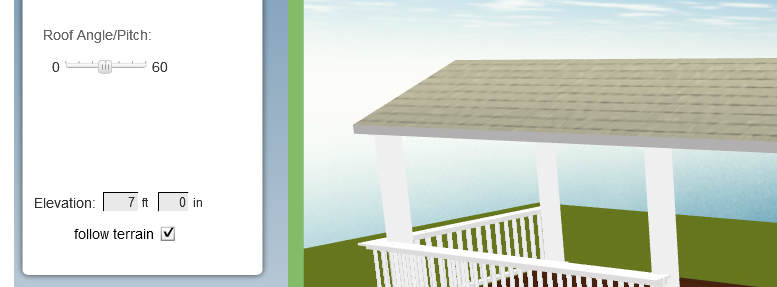
Then in the 3d view I will select the roof and change the elevation to 7ft.
And now we have a simple porch.