
Getting Started with Garden Planner
This guide provides a quick introduction to Garden Planner.
Garden Planner provides an easy to use tool that lets you layout and manage your garden. The focus of garden planner is on being flexible and simple. There is also a detailed manual and tutorial videos but this quick start guide should be enough to get you up an running.
When you first start Garden Planner you will see the following window.
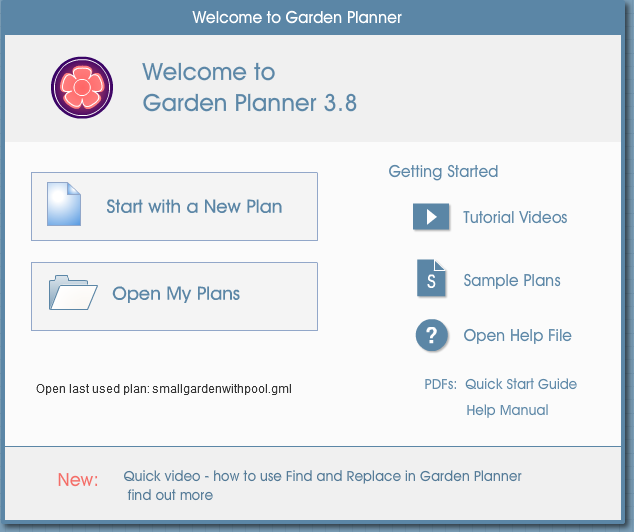
To begin with just click on the Start with a New Plan button
You will then be able to enter a name for your plan and choose your measurement units.
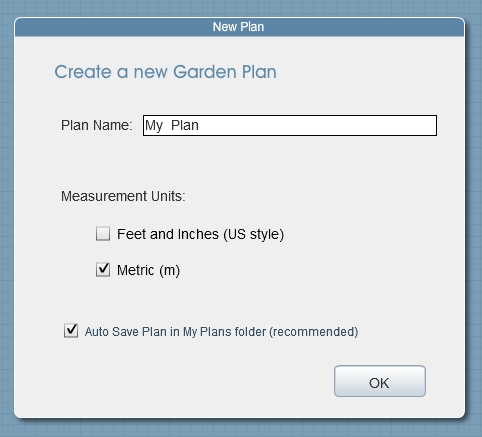
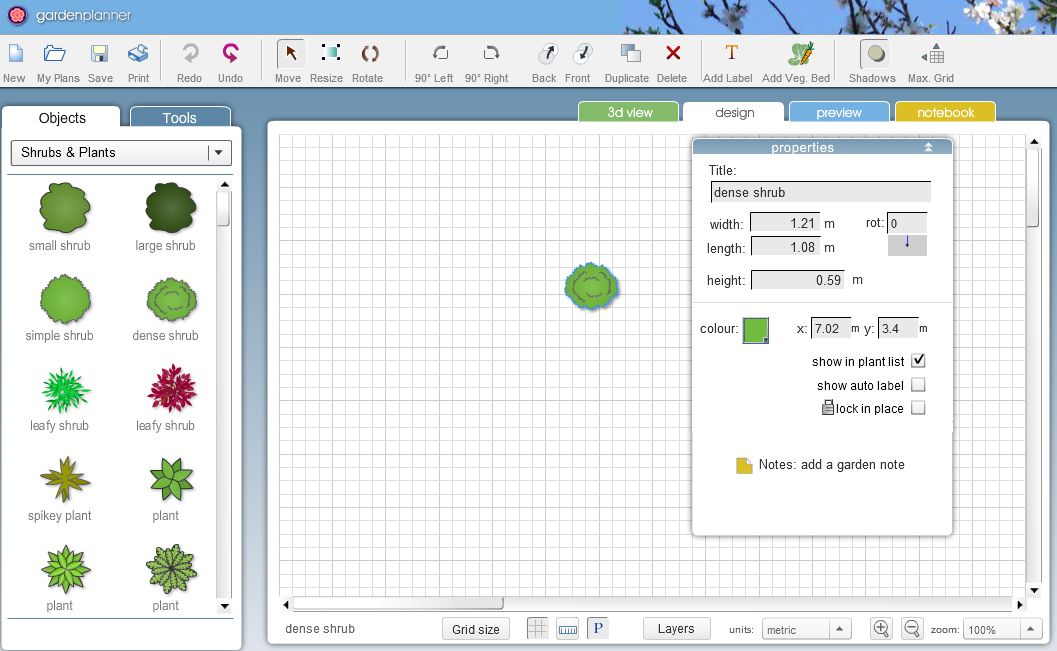
Clicking OK will start your plan. What you will see is blank grid with a selection of shrubs on the left side of the screen. Essentially it is blank page onto which you create your design. So lets get started.
Just to try things out drag a shrub from the Plants & Objects list on the left side over to the grid. (click on the shrub symbol, hold the mouse down, move over the grid and let go)
You have now added a plant to your garden. Wow that was simple.
If
you click on the shrub you can see the properties window, which lets
you change the way the plant is displayed.
You can change the width, length and height of the shrub as well as the name of the shrub in your plan. Clicking on the color square will display a window that lets you change the plants color.
There are other properties that you can change but at this stage the only other one to consider is the lock in place option. Checking “lock in place” will mean that you can't accidentally move an object when adding other plants to the plan. It can be really useful for garden beds and lawns.
OK,
now lets get rid of the shrub we added. If it isn't already selected
then select it. Now click on the delete button![]() on the tool bar. The
shrub is gone!
on the tool bar. The
shrub is gone!
You could also use the delete key on your keyboard to remove it.
Plants and Objects List
 Let's
now have a closer look at the Plants and Objects list. By default
Garden Planner starts on the Shrubs &
Plants category. If you scroll down through the list you will
see if contains general shrub and plants symbols as well as symbols
for palms, ferns, succulents and grasses. There are also some
symbols for flowering shrubs and vines. (More flowering shrubs can be
found in the flowers category)
Let's
now have a closer look at the Plants and Objects list. By default
Garden Planner starts on the Shrubs &
Plants category. If you scroll down through the list you will
see if contains general shrub and plants symbols as well as symbols
for palms, ferns, succulents and grasses. There are also some
symbols for flowering shrubs and vines. (More flowering shrubs can be
found in the flowers category)
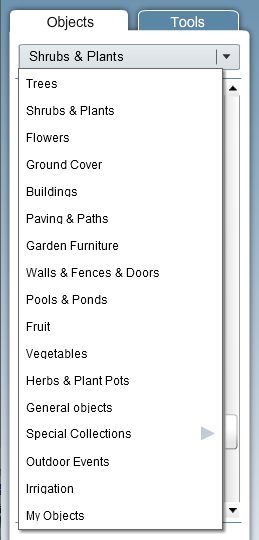
If you click on the title Shrubs & Plants you will see the drop down list that lets you change the Objects category.
Most of these categories should be self explanatory. Trees contains tree symbols, ground cover contains lawns and garden beds etc
Quick tip: If you are looking for decking you will find it in the paving and paths category. There is also a specific tool for creating decking that is covered later in this document.
The General Objects category contains a range of objects including lights, grills, outdoor fireplaces, wood stores, and play equipment.
The Special Collections category includes a selection of less commonly used items, including household fixtures, animals, vehicles, topiary and more.
Note:
Garden Planner provides a range of general symbols for plants,
flowers and trees. We realise it would be impossible to provide
symbols for every tree and plant on earth so instead we provide a
large range of general symbols that can easily be customised to meet
your needs.
However we also
realise that there are some trees, shrubs and flowers are commonly
found in gardens and so also include a range of common trees, flowers
and shrubs.
Drawing Tools
Let's now have a look at the drawing tools in Garden Planner.
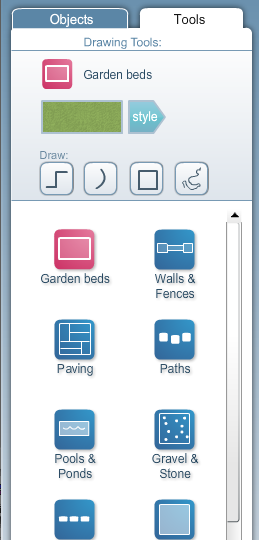
To view the drawing tools simply click on the Tools tab, next the Objects tab. The idea behind the drawing tools is quite simple. They allow you to draw onto the plan common garden elements, like paths, pools, walls and beds.
The currently selected tool is highlighted as pink and its settings appear at the top of the tools window. You can select any of the icons to change which tool you are using. So to draw walls or fences click on the Walls & Fences icon. To draw paving or decking choose the Paving icon.
By default the Garden Beds tool will be selected so lets use this to draw out a lawn.
Under the word Draw are four buttons that set what style of drawing you are doing. These are
| drawing Straight lines – generally the easiest option | |
| Curved lines – for lines that curve as you draw. | |
| Shapes – for quickly drawing squares and circles/ovals. | |
| Free drawing – for drawing freehand, like pen on paper. |
Select the first option by clicking on
the ![]() button
button
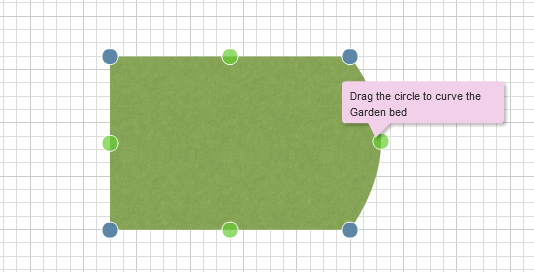
Now click once on the grid, at this stage it doesn't matter where you click. Then move the mouse and you will see it draws a line from where you clicked. Click again and it adds a corner and starts a new line. So you have now created two sides of the lawn, click again to start the third side. And finally to finish the shape “double click” on the grid. Garden Planner will draw out the final lawn.

Great, you now have a lawn. If you select the lawn you will see small blue circles appear at the corners and green circles at the middle of the edges. You can drag the blue circles to change the position of any of the corners. Dragging the green circles will allow you to curve the edge of the lawn as shown below.
 But
what if you don't want a lawn? You can easily change the style of the
selected lawn from the Properties window. At the bottom of the
properties window you will see two buttons labelled Change Style and
Settings.
But
what if you don't want a lawn? You can easily change the style of the
selected lawn from the Properties window. At the bottom of the
properties window you will see two buttons labelled Change Style and
Settings.
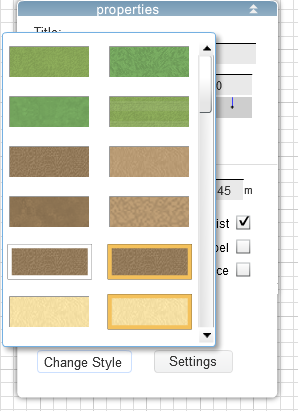
If you click on the Change Style button you will see a selection of styles you can choose for the selected garden bed. This lets you instantly change how your lawn or garden bed looks.
For all of the tools you will find that there is a selection of styles to choose from. For Walls & Fences this will give you a range of fence types. For Paving you can choose from a range of paving stones, bricks and timber decking.
 If
you click on the Settings button you will see a pop up window that
lets you change settings specific to the tool you are using. For
Garden beds this lets you choose if the bed has edging and the
thickness of that edging.
If
you click on the Settings button you will see a pop up window that
lets you change settings specific to the tool you are using. For
Garden beds this lets you choose if the bed has edging and the
thickness of that edging.
For the Walls & Fences tool the settings option lets you change the fence thickness and distance between posts.
For Paving it lets you adjust the size and direction of the paving.
Most tools work in the same way as the Garden bed tool. The only real difference is that for some tools (fences, paths) instead of drawing a shape you are just drawing a line. So for tools like paving, pools and garden beds the start and end point of your drawing will be joined up to create a shape. While for tools like Walls, Paths and measurement lines it just draws the wall or fence along the line.
Now with a basic understanding of adding Plants and Objects and using the tools you have enough knowledge to start designing your dream garden.
But how do I start, what should I do first?
There are no rules in Garden Planner. The software is designed to be really flexible and consequently we find that people use it all sorts of different ways for a whole range of purposes.
However here are a few of the common ways to start your plan.
Define your boundary:
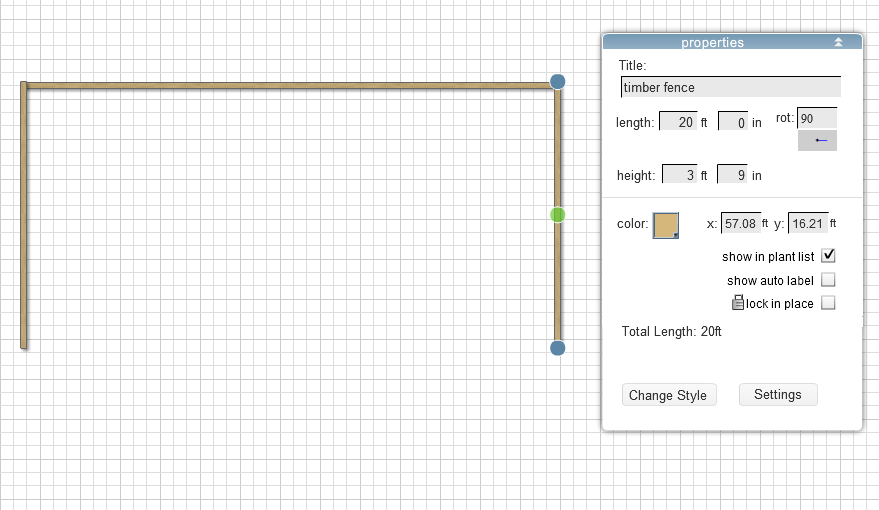
You
may wish to start by adding the boundary fences of your garden. The
simplest way to do this is to drag fences from the Wall & Fences
category. For example you could drag onto the gird a timber fence
onto the grid, select it and set its length in the properties window.
Most of the walls and fences are initially displayed horizontally. If
you need them rotated the easiest way is to use the rotate buttons on
the tool bar.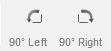
The example below shows a small garden with two 20ft long fences and a 40ft long fence.
Once you have the walls in the correct location it is a good idea to check the lock in place option, so you don't accidentally move them when laying out your garden.
You could also use the Walls & Fences drawing tool to draw out your boundary fences.
Quick tip: You can move an selected object using the arrow keys on your keyboard. Sometimes this can make it easier to precisely position elements like fences.
Mark out a key element of the garden:
Another way to start your garden is to begin with a prominent element of your garden. So you may start by adding a lawn, large tree, building or paving area. You can then build your plan around that item.
Blank paper free for all;
Even though the software is called Garden Planner there is no requirement for you to have a plan. You can just start dragging a bunch of flowers onto the grid to make something pretty and just work form there. Who knows what creative designs you may produce.
Working from an existing plan or satellite image;
Garden Planner allows you to import external images into your plan. So if you have a satellite image of your garden or an image of your house plan you can import that into the plan and use it as a starting point. The imported image can be placed beneath the design grid and used as tracing image for your design.
If you wish to use a google earth satellite image as a starting point for your plan we recommend you have a look at the tutorial videos located here
The videos for Recreating Hampton court maze and Recreating Bowling green park show the steps involved in re-creating a real world garden in Garden Planner starting from just a satellite image.
This quick start guide provides a simple introduction to Garden Planner but there is still much more to discover.
You can use the Vegetable bed tool to create and manage vegetable gardens.
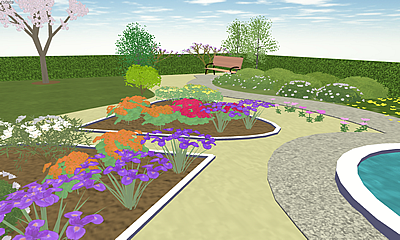
You can use the 3d view to see your garden transformed into a 3d world you can explore.
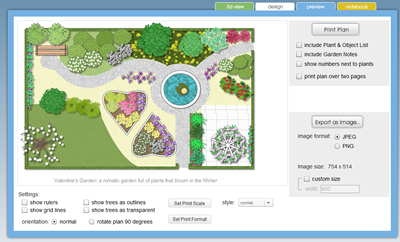
The Preview window lets you manage saving your plan as an image or print out.
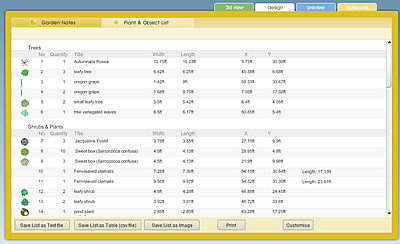
The Notebook
window lets you store your own garden notes and produce a
plant list.
You can find more information on how to use Garden Planner in the Help manual (select it from the Help menu in Garden Planner)