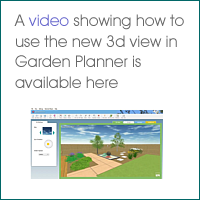
How to use the 3D View in Garden Planner
 Garden
Planner version 3.6 and higher includes an option to turn on 3D view,
allowing you to see your plans in 3D.
Garden
Planner version 3.6 and higher includes an option to turn on 3D view,
allowing you to see your plans in 3D.
The 3d view will translate your 2d plan into a 3d world you can walk around. Why is this an option that you activate from the Help menu? Because at this stage the 3d view is still being developed with more objects and features being added regularly. So we are letting users choose if they want to use it right away (while there still a few objects missing) or you can wait for the final version that will come out soonish. Either way the 3d view, and all future updates are free for anyone who purchases garden planner.
Want to try out the 3d view: Here's how:
You turn on the 3d view from the Help menu. Simply select Show 3d view from the Help menu.
This will result in a new green tab being visible labeled 3d view
![]()
You can then click on the 3d view tab to view the current plan in 3d. The image below shows one of the sample plans in the 3d view.
You can change where you are looking by clicking and dragging. To move use the arrow keys (cursor keys) to move forward, backwards, left and right.
To move the camera up use X
To move down use Z
On
the left of the 3d view you will see the 3d settings. If nothing has been
selected you will see the general settings shown above.
Here you can change the appearance of the sky by clicking the blue arrows.
You can also adjust the position of the sun by dragging the yellow circle. Please Note: at the moment Garden Planner does not display ground shadows.
You can also adjust the speed at which water in ponds and pools animates. Obviously this only matters if your plan includes water.
If you click on an object or plant within the 3d view
you will see the 3d settings for that object. At the most basic level
this will display the objects name and it's elevation. The elevation is
how high off the ground the object is.
 For
a large number of Objects and Plants you will also be able to adjust the
height within the 3d settings.
For
a large number of Objects and Plants you will also be able to adjust the
height within the 3d settings.
If you are viewing a plan that was created prior to version 3.6 it is quite likely that you will need to adjust the height of some plants as they will probably be set to a default value that is a bit too tall. The reverse will probably be true for walls and trees added in an older plan, where they will probably be a bit short. Luckily its very easy to change the height of objects, just click on the object and then enter a new height in the 3d settings. Or if you wish you can change the height in the 2d view.
NB:sometimes it can be a little tricky to select an object in 3d. You may think you are clicking on the object but all you end up selecting is a near by tree or fence. Generally if you find it hard to select something the best tip is to move so you are standing above the object and look down at it and then click on the object.
For
some objects you will also see an option that lets you adjust the style
of the object. This may be the type of leaves on a plant, or the shape
of a tree, or the type of flowers.
The idea is that over time more and more plants and objects in Garden Planner will have one or more style settings that you can change. So along with being able to the change the size, height and color of plants you will also be able to change the 3d style of the plant (or object). It will make it easier to adjust the look of a plant to match the plants in your garden - even if you dont know the name or species of plant. All you need to do is pick the leaves, the color and set the size.
At this stage the 3d view is still being developed. Please check for updates, provide feedback and watch as it grows better every day (or at least each week)
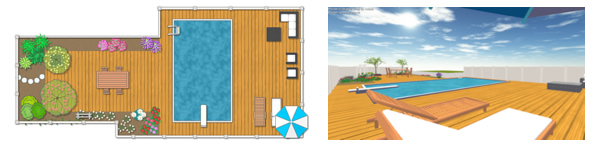
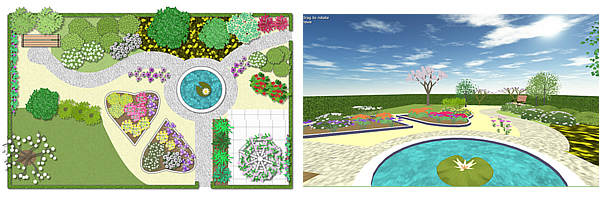
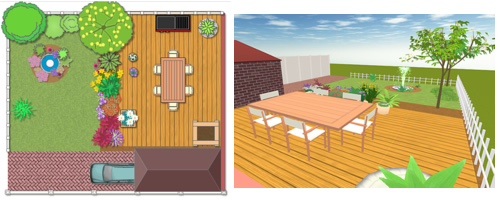
Here are some images of the Garden Planner sample plans viewed in 2d and 3d