
How to Use Plant Details in Garden Planner
In Garden Planner you can set basic properties for a plant in the Properties Window such as the plant height, flower color etc. You can also use the Garden Notes option to store some additional text about the plant.
But what if you want to store a set of specific details about a plant not just a big note. What if you want to store things like the time to prune the plant, the sun exposure needs of the plant, if the plant is toxic or not? That is where Plant Details come in. When you turn on plant details you have an extra section on the properties window where you store additional plant details.
Plant details has been designed to be as flexible as possible. There are bunch of pre-defined details you can use or you can create your own.
Let's have a look at how it works.
 First you need to define what plant details you want to record. The plant details window always has a space for botanical name and an option to add a picture. However the other plant details are up to you. You may include plant information like hardiness or time to maturity, or planting details like when it was planted or when to prune. Or other details like price.
You can add as many plant details as you like.. There are bunch of pre-defined details categories to pick from or you can create your own categories if you can't find what you need in the options available.
You can even create multiple plant details lists, although in most cases a single list will probably work for your garden.
So let's get started.
To define your plant details select Plant Details Settings from the settings menu.
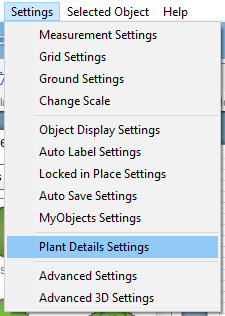
This will show the Plant Details window.
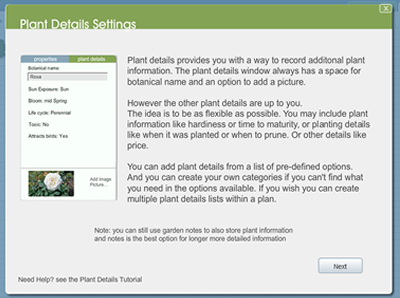
The first screen just explains what plant details are. Click Next to set up your plant details.
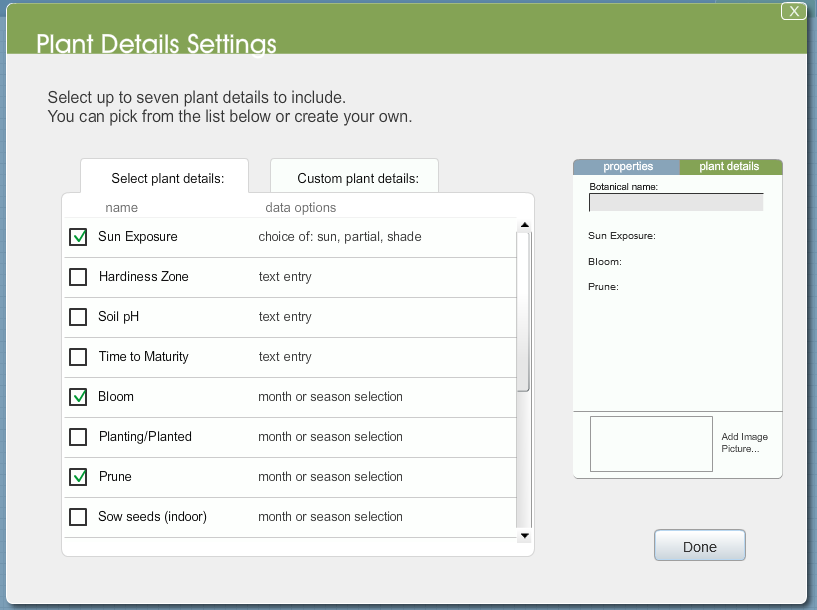
Now you can start to pick what details you want to record in your plan. Just click on the name to add it to your plant detail list. Click again to unselect it and remove it from the list.
The data options section tells you what kind of data (information) you can store for each detail. So for Sun Exposure it lets you pick from a list of three options; sun, partial or shade. For toxic you can pick from just Yes or No. For many plant details the data you store is just text, that is just some words or numbers. For some options like Bloom or Prune you pick from a calendar to select one or more months (Or one or more seasons).
At the moment we are just setting up what plant details are available. You can't actually enter the information like the Prune month or PH level yet. We will do that when we select a plant on the plan.
If any of this seems confusing, don't panic. It takes a few steps to get things set up, however once you start using plant details you will find it makes sense.
So in the example shown above I have selected just three details: sun exposure, bloom and prune. I then click Done and return to my plan.
Entering Plant Details on the Plan
Now let's looking and entering the plant details on a plan.
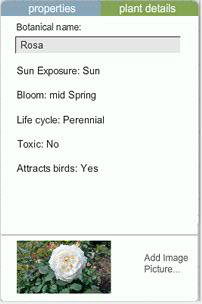
In the example below I have added a rose bush to my plan and selected it.
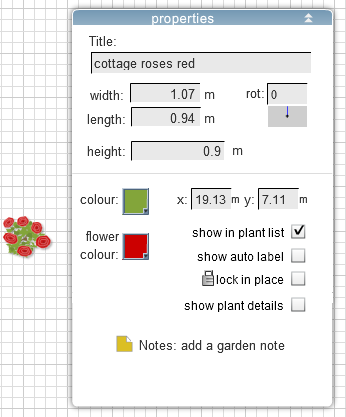
When I select the show plant details it shows the plant details tab (green) at the top of the Properties window.

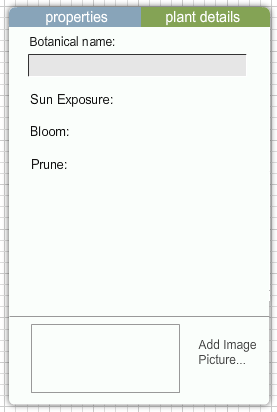
And when I click on the plant details tab it shows the details list we previously created.
If I click on Sun Exposure it will show a pop up list that lets me select the type of Sun Exposure.
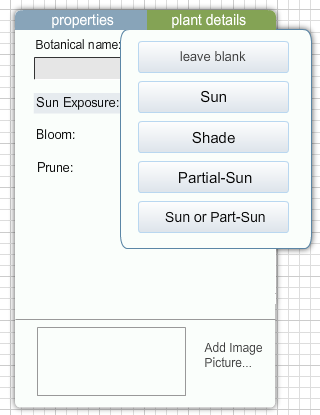 If I select Sun that is now set as the value for Sun Exposure. At any time I can change it, or even choose to 'leave it blank" if I don't now the sun requirements for a particular plant.
Seasons and Months
If I select Bloom it will show a larger pop up window that lets me select one or more months.
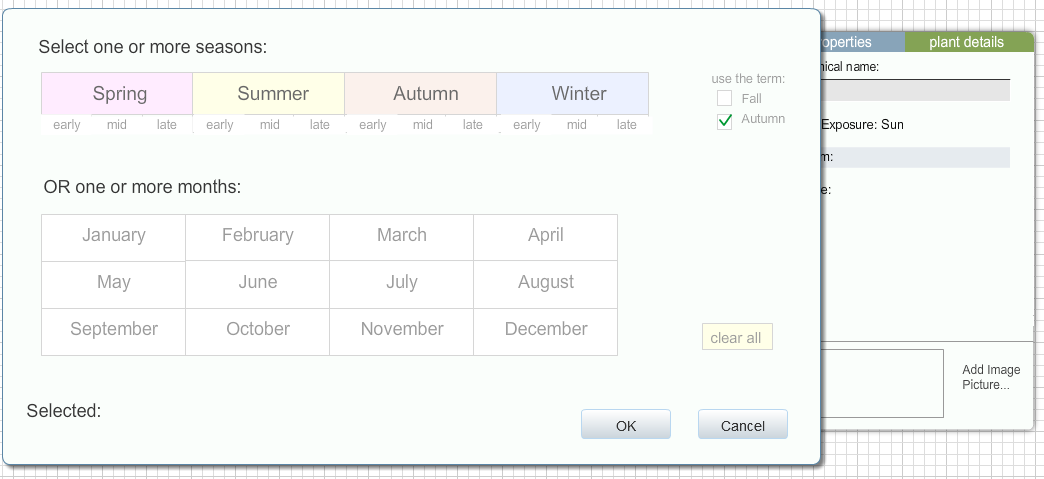
So you can click to select a month. If you want to unselect a month just click it again. You can select one or more months. So if your rose blooms in May and June, then select both months. Alternatively you can select from the Seasons, either selection a whole season or part of a season (like early Winter).
If you select months for some of the plants in your garden and seasons for others then the calendar (see later in the tutorial) will be displayed as months and seasons will be mapped to corresponding months. The customize button on the calendar window will allow you to switch between Northern or Southern Hemisphere seasons.
Adding an Image
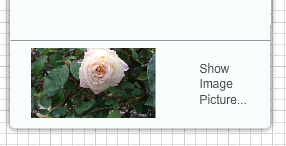 As well as adding details information you can also add an image to be associated with the plant if you wish. Click on the Add Image button at the bottom of the properties window. You can then browse to a picture on your computer to associate with the plant. This could be a photo from your garden of the actual plant. Photos taken with modern phones are quite large, so after selecting the image it may take a few seconds for it to be loaded and displayed. Once added you can click on the photo to see a larger version of it within garden planner. Please note: Garden Planner actually makes a copy of the photo/image you select. So if you were to later delete the original photo, the image will remain in garden planner.
Notebook Window
Once you have added plant details to your plan you will then have two extra tabs in the Notebook Window.

Namely the Plant Details tab and the Calendar tab.
Plant Details Tab
The plant details tab will show a list of all the plant details you have added to your plan.
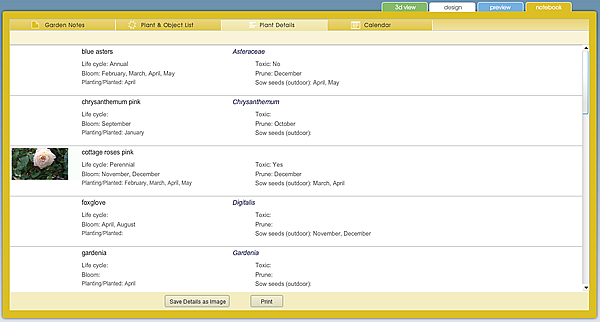
If you have associated a photo with the details a small version of the photo will also be included in the Plant Details list. The buttons under the list allow you to Print or Save an image of the plant details list.
The Calendar Tab
The calendar tab in the notebook window shows any plant details that have month (or season) data stored against them. The image below shows an example of plant details calendar. In this example four of the plant details have calendar data stored against them (namely Bloom, Prune and Planting). The plant information is displayed as colored bars across the grid of months.
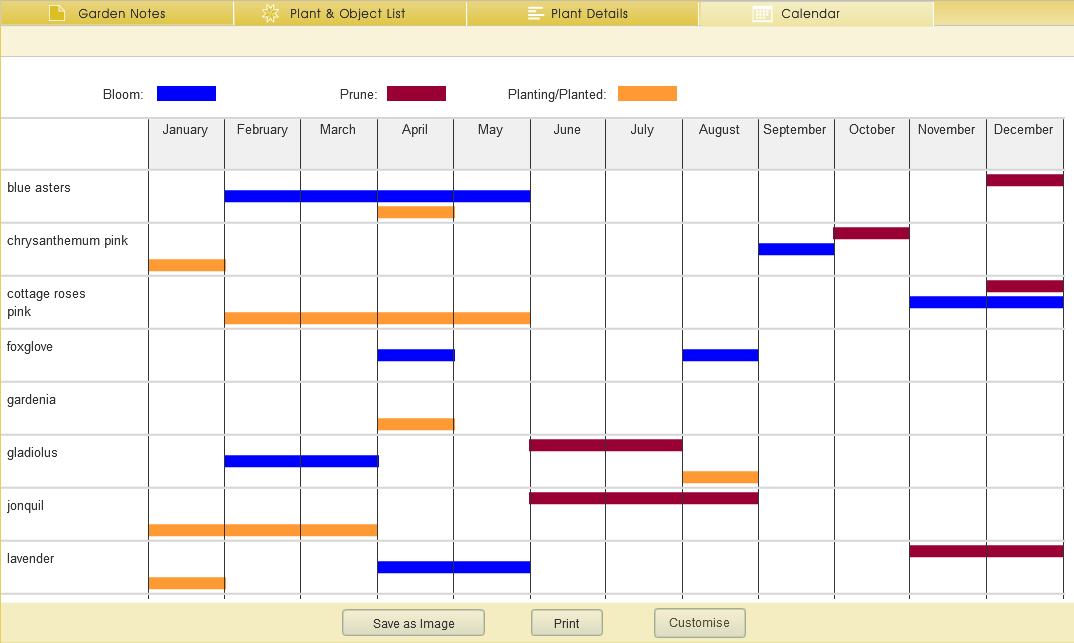
This can be very useful, especially if you have garden with many plants, as it lets you have a quick view of what tasks need doing at different months in your garden. The Print option lets you print the calendar. If you have a lot of plant details it may be spread across multiple pages. If you find that the text is little small it is recommended that you try printing landscape view (choose the landscape option in your printers settings) as Garden Planner will automatically scale the calendar to fill the page.
The customize button lets you choose how seasons are mapped to months.